Water damage can sneak up on you fast, especially during late summer storms in places like Vancouver, Washington. Heavy rain or plumbing issues can leave your favorite wood furniture soaked before you even notice there’s a leak. If left alone too long, that furniture can become swollen, warped, or start to fall apart before your eyes. The quicker you address it, the better chance you have of saving it.
This article focuses on practical ways to dry water-damaged wood furniture and avoid long-term harm. Whether it’s a coffee table your family gathers around or a wood cabinet in your dining room, treating it right after water exposure gives it the best shot at recovery. Let’s walk through what to look for and what steps to take so you can get ahead of the damage before it spreads.
Identifying Water Damage On Wood Furniture
Before jumping into drying methods, start by taking a close look at the piece of furniture. Knowing what you’re dealing with helps guide the next steps. Sometimes it’s obvious, and other times, a quick inspection reveals damage that wasn’t clear at first glance.
Here’s what to keep an eye out for:
– Discoloration in the wood finish or surface
– Swelling or raised areas, especially on legs and bottoms
– Warping, where parts of the item curve or lift
– Soft spots, especially on tabletops or corners
– A musty or sour smell coming from the piece
You might see water pooling under or around the furniture, which usually means the damage runs deep. Open drawers or cabinet doors to see if the insides feel damp or tight. Pick up smaller pieces if possible. If they feel heavier than usual, the wood could be soaking in moisture from the inside out.
If the item has joints, check those areas closely. Water can weaken glue or cause the joints to pull apart as the material swells. Veneer wood can peel or bubble up, especially on particleboard furniture that reacts quickly to water.
Once you have a sense of the extent, you’ll know whether you’re dealing with light surface moisture or deeper soaking that needs more than just a wipe down. Either way, the next part of the process should start right away.
Initial Steps To Take
Once you know the wood has been affected, it’s time to move quickly. Getting the surface dry doesn’t guarantee the piece is safe, but it’s a good start. When you wait too long, moisture sets in and opens the door for mold and structural damage.
Start with these steps:
1. Move the furniture – If the piece is sitting on a wet surface or in a puddle, carefully lift and move it to a dry spot. Avoid dragging it. Wet wood can be fragile.
2. Wipe the surface – Use absorbent towels to blot any visible moisture. Press gently but firmly. Avoid using newspaper or printed cloths to prevent staining.
3. Allow airflow – Get the air moving around and through the furniture. Open drawers, doors, or any compartments. Set up fans around it to push air from different angles.
4. Protect the floor – Place a dry barrier like a plastic sheet or a clean towel under the furniture’s legs. This stops more water from being soaked up from the floor.
5. Remove items stored inside – If the furniture has storage space, clear it out. Water can get trapped inside and damage both the furniture and contents.
While doing all of this, look out for any wobbly parts or pieces that seem like they might come loose. Don’t force anything open or pull apart joints. Wet wood is fragile and can split easily.
These first few steps don’t fix the damage, but they slow it down and help prepare the furniture for more thorough drying. In the next few steps, drying techniques will help pull out the deeper moisture from the wood.
Techniques for Thorough Drying
Once you’ve addressed the initial surface drying, it’s time to tackle the deeper moisture. Thorough drying ensures the wood doesn’t hold water, which can lead to long-term damage or mold growth. Here are some detailed methods to help dry the wood completely:
– Air-drying methods: Open windows or set up fans to help air circulate around the furniture. By moving the air freely, you can help moisture evaporate faster. If it’s humid outside, consider using dehumidifiers in the room to pull moisture out of the air and wood. Make sure there’s enough space around the furniture for air to flow.
– Applying heat: Using hair dryers or heat guns can be helpful but should be done carefully. Keep the device moving and don’t focus on one spot for too long to avoid overheating the wood. Maintain a safe distance, about six to twelve inches away, to steadily warm the piece without causing cracks or burns.
– Absorbent materials: Baking soda and silica gel beads can help draw out moisture. Sprinkle baking soda on damp areas and let it sit for a few hours, then vacuum it away. Silica gel packets can be placed inside drawers or cabinets to absorb moisture over a couple of days.
While using these methods, regularly check the wood’s condition. If you notice any new spots of discoloration or swelling, stop and reassess your approach. Adjust the airflow or move the furniture to a different location if needed.
Repair And Restoration Tips
When it comes to repairing water-damaged wood, sometimes a little extra care is necessary to bring your furniture back to life. Here’s a look at what you can do to help restore the piece effectively:
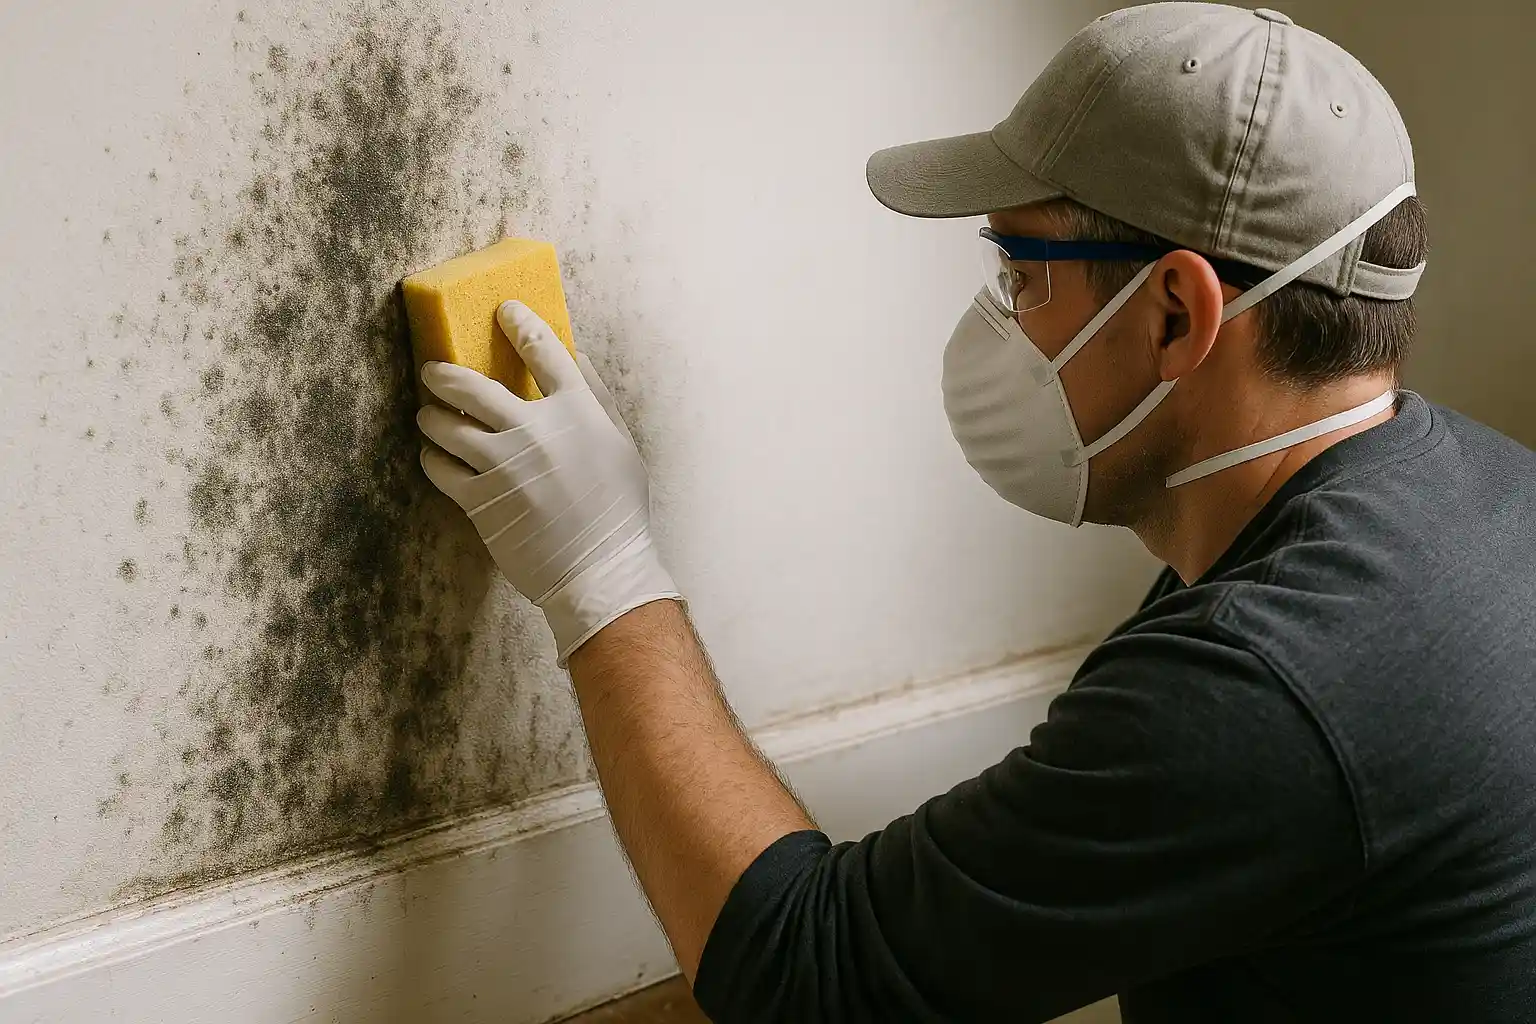
– Preventing mold growth: Mold thrives in damp environments, so keeping the piece dry is important. If you notice mold starting to form, use a mild cleaner or a vinegar solution to wipe it down. Always dry the area thoroughly afterward.
– Sanding and refinishing: If the wood surface looks rough or has uneven areas, gentle sanding can smooth it out. Use fine-grit sandpaper and follow the grain of the wood. Afterward, consider applying a wood finish or sealant to protect against future moisture.
– Calling for professional help: Sometimes, the damage is too much to handle alone. If you’re dealing with structural issues or serious mold, it’s best to get help from an expert furniture restorer. They have tools and skills most homeowners don’t.
Keeping Your Furniture Safe In The Future
Preventive steps can save time and money in the long run. Protecting furniture from water damage isn’t hard, but it does involve paying attention to your space and acting fast when things go wrong.
– Use coasters and mats: Placing coasters under drinks and mats under flowerpots or vases helps protect your surfaces from moisture.
– Regular inspections: Especially after storms or plumbing issues, look for signs of leaks or dampness in your home. Catching problems early limits the damage.
– Water-resistant treatments: You may want to treat your wood furniture with wax or sealants that add a moisture barrier. These options can help give you more time to catch spills before they soak in.
A simple routine of care and attention can make a big difference in how long your wood furniture lasts. Quick action and a bit of prevention go a long way.
Protecting Your Wood Furniture the Right Way
To wrap it up, water-damaged wood furniture doesn’t always mean a total loss. If you’re quick to respond and use the right drying and repair steps, you can often save your favorite pieces. From identifying signs early to using proper drying techniques, every step matters.
Keep your furniture in great shape by staying alert, acting fast, and practicing good maintenance. And when the damage feels out of your hands, don’t hesitate to reach out for professional support from a trusted team in Vancouver.
If you’re facing the challenge of water-damaged wood furniture and need expert assistance, look no further. Trust DryWorx Water Damage Restoration to provide top-notch water restoration in Vancouver, WA, so your home and cherished furnishings can be effectively protected from further damage. Our experienced team is ready to support you in restoring your belongings with care and precision. Reach out today and let us help you regain peace of mind.